Setting up a database the hard way in 2023
As I am coming back from a 10-weeks long trip across the US, living the camper life, I thought it could be fun to create a small website to showcase where we went through pictures, and potentially some blog posts about living in a van, while working on the road (disclaimer: you don’t really work from the van).
I could have kept a very minimal setup, for example a simple static site where I could display a bunch of pictures, but I wanted something a bit more dynamic. I always wanted to explore Next.js, so I decided on using Next.js and Vercel, with Prisma as an ORM. I used Swarm to keep track of cool places we have been to, so I have some scripts to fetch those checkins through the Foursquare API and display them on a map. OK, I could use a simple JSON file to hold those checkins, but where is the fun in that!
Creating an EC2 instance with Terraform, and install MariaDB.
Using AWS RDS felt overkill for this, and I like to stay in the free tier in AWS as much as possible. I decided on using a micro EC2 instance where I would install MariaDB on it. I don’t want to do it through the UI, so I could use Cloudformation for IAC (Infrastructure as Code). Not having experience with Terraform, and having a few side-projects to work on in mind, I decided on using it for this project as the initial one.
Terraform supports modules to simplify reusability, and help in keeping things a bit more separated. My infra structure is as follow for now:
.
├── README.md
├── config.s3.tfbackend
├── main.tf
├── modules
│   ├── test-module
│   │   ├── ec2-user-data-db-cache.sh
│   │   ├── main.tf
│   │   ├── outputs.tf
│   │   └── variables.tf
│   ├── network
│   │   ├── main.tf
│   │   ├── outputs.tf
│   │   └── variables.tf
│   └── security
│       ├── main.tf
│       ├── outputs.tf
│       └── variables.tf
├── secret.tfvars
├── terraform.tfstate
├── terraform.tfstate.backup
└── variables.tf
I created a new module for this specific project, and use it in my main module (main.tf at the project root):
locals {
  region = "us-west-1"
}

terraform {

  required_providers {
    aws = {
      source  = "hashicorp/aws"
      version = ">= 2.7.0"
    }
  }

  backend "s3" {
  }
}

provider "aws" {
  region = local.region
}

module "network" {
  source = "./modules/network"
}

module "test-module" {
  source = "./modules/test-module"

  public_subnet_id  = module.network.public_subnet_id
  ec2_key_pair_name = var.ec2_key_pair_name
}
By doing it that way, I can keep things mostly scoped to a single project, while the big pieces of my infrastructure (VPC, Security groups and so on) are kept at a higher level. I like to think of it as the base building blocks, and then each project is a more specialized block that focus only on what is needed for it, the rest is already taken care of.
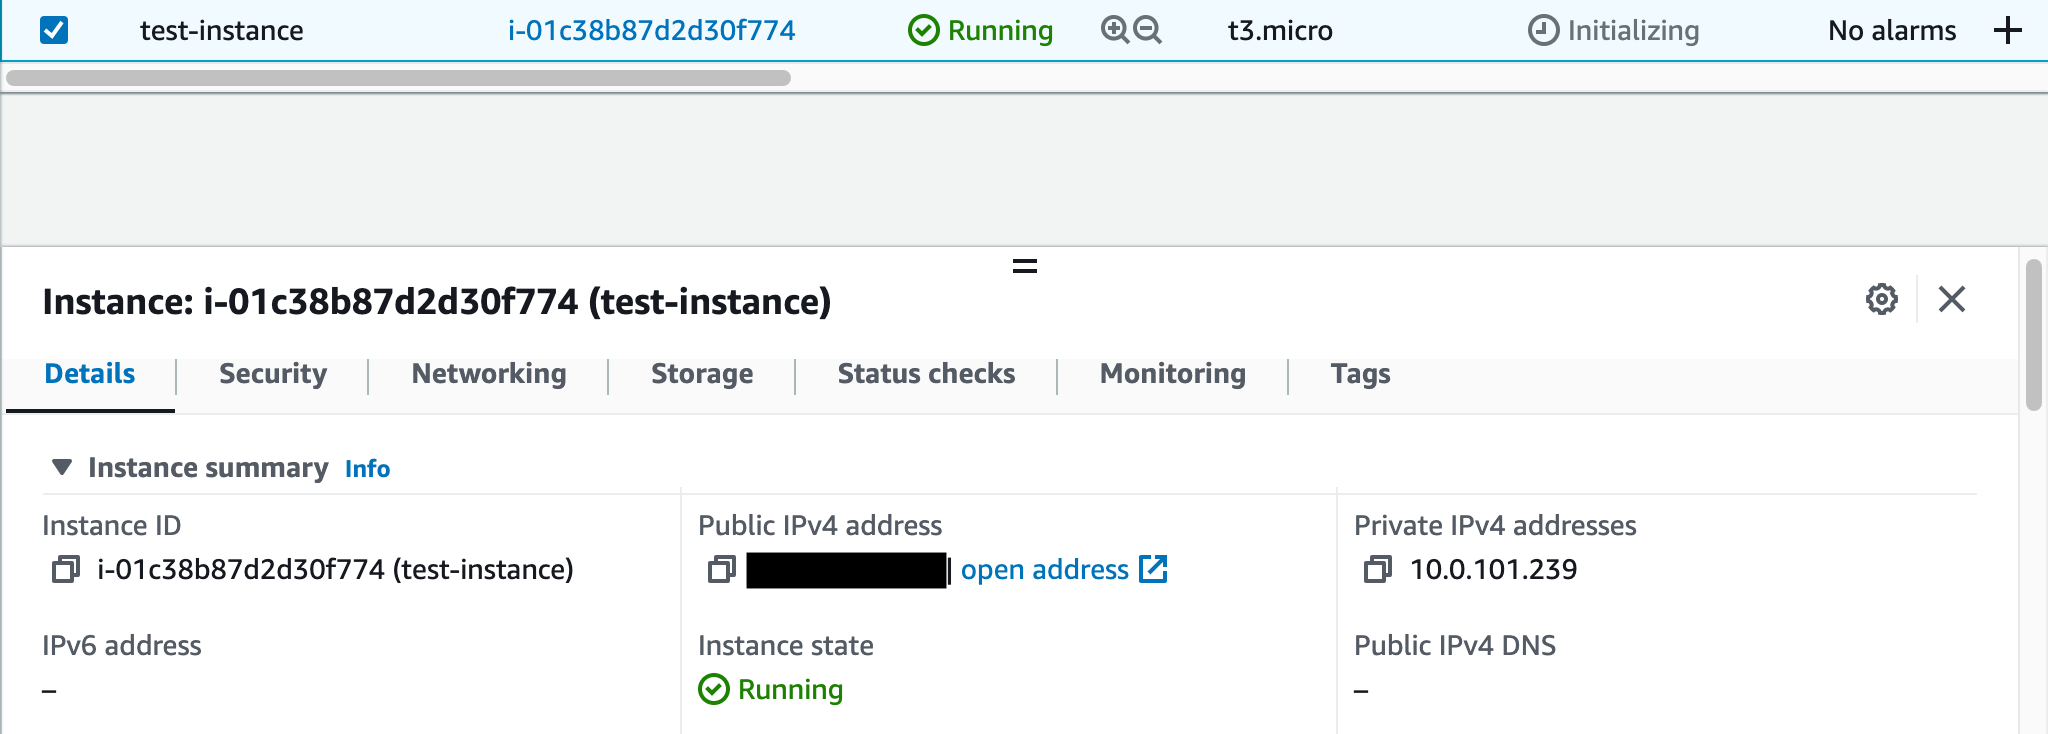
Granted, for now, we don’t need much for this project, we need to have a single EC2 instance.
resource "aws_instance" "test-instance" {
  ami = "ami-00d8a762cb0c50254"

  instance_type = "t3.micro"
  tags = {
    Name      = "test-instance"
    Terraform = true
  }

  subnet_id = var.public_subnet_id # defined in network module
  key_name  = var.ec2_key_pair_name # passed in from secrets.tfvars file
}
The tfvars file is the equivalent of a .env file that is commonly used to hold environment variables. This is how I visualize it at least!
When applying our changes with Terraform, we can pass a file containing our secret variables to be used:
terraform apply -var-file="secret.tfvars"
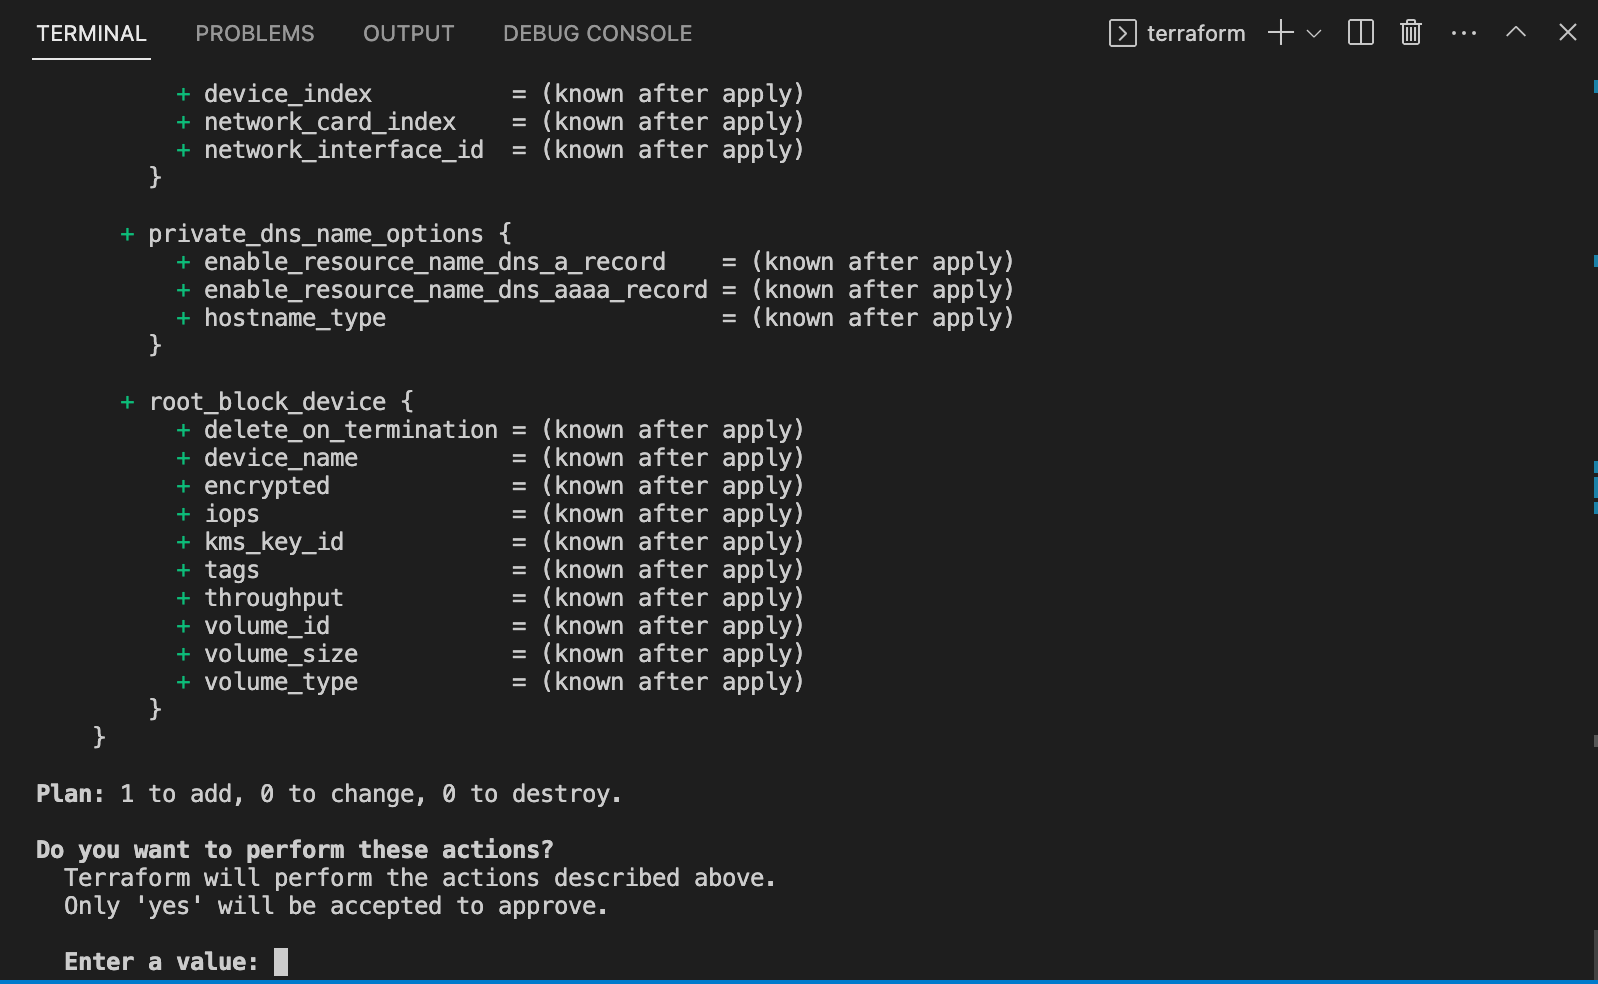
Let’s type yes and here we go!
Setting up MariaDB
When an EC2 instance is created, there is a way to run a user script after it is successfully booted. This is what we are going to use to install MariaDB.
The first part of this section will focus on what is available to us on a barebone EC2 instance, as it comes with a lot of things out of the box! Then, the second part will give some more details about the Terraform configuration and how we should apply those changes if we already have an existing instance.
The AMI we used for our EC2 instance is Amazon Linux 2, and it comes with the Extras library, which lets us install some specific packages (known as topic easily).
To see what’s available to use, let’s run amazon-linux-extras list.
 ...
 38  nginx1                   available    [ =stable ]
 39  ruby2.6                  available    [ =2.6  =stable ]
 40  mock                     available    [ =stable ]
 41  postgresql11             available    [ =11  =stable ]
 43  livepatch                available    [ =stable ]
 44  python3.8                available    [ =stable ]
 45  haproxy2                 available    [ =stable ]
 46  collectd                 available    [ =stable ]
 47  aws-nitro-enclaves-cli   available    [ =stable ]
 48  R4                       available    [ =stable ]
  _  kernel-5.4               available    [ =stable ]
 50  selinux-ng               available    [ =stable ]
 51  php8.0                   available    [ =stable ]
 52  tomcat9                  available    [ =stable ]
 53  unbound1.13              available    [ =stable ]
 54  mariadb10.5              available    [ =stable ]
 55  kernel-5.10=latest       enabled      [ =stable ]
 56  redis6                   available    [ =stable ]
We can see that mariadb is available. Let’s enable and install it:
sudo amazon-linux-extras enable mariadb10.5
sudo yum clean metadata
sudo yum install mariadb10.5
Now the service is still not running, we use to start it with systemctl.
sudo systemctl start mariadb
You can verify it is running by issuing sudo systemctl status mariadb and see that it is marked as active:
● mariadb.service - MariaDB 10.5 database server
   Loaded: loaded (/usr/lib/systemd/system/mariadb.service; disabled; vendor preset: disabled)
   Active: active (running) since Sun 2023-02-12 00:27:10 UTC; 3s ago
     Docs: man:mariadbd(8)
           https://mariadb.com/kb/en/library/systemd/
  Process: 6462 ExecStartPost=/usr/libexec/mariadb-check-upgrade (code=exited, status=0/SUCCESS)
  Process: 6299 ExecStartPre=/usr/libexec/mariadb-prepare-db-dir %n (code=exited, status=0/SUCCESS)
  Process: 6275 ExecStartPre=/usr/libexec/mariadb-check-socket (code=exited, status=0/SUCCESS)
 Main PID: 6408 (mariadbd)
   Status: "Taking your SQL requests now..."
   CGroup: /system.slice/mariadb.service
           └─6408 /usr/libexec/mariadbd --basedir=/
We also want to make sure it is restarted everytime we reboot our EC2 instance. Once again, systemctl is the tool to use: sudo systemctl enable mariadb.
This is where our automation will stop for now. We still need to setup a secure installation for mariadb. To get started enter sudo mysql_secure_installation and follow the prompts.
It is possible to automate what you provide to mysql_secure_installation but I didn’t spend much time trying to figure it out so that we don’t have to store passwords in plain-text in some random script, so I skipped over for the sake of time.
Creating our user-data script
In the previous section, we went through those steps manually, but we can automate all of it up to mysql_secure_installation. We will rely on a user data script for this and make it run as part of our Terraform apply command.
The script is run as a super user, so no need to specify sudo for each of the commands.
#!/bin/bash
yum update -y #auto-approve
amazon-linux-extras install epel -y
amazon-linux-extras enable mariadb10.5
yum clean metadata
yum install mariadb -y # auto-approve
systemctl enable --now mariadb
systemctl start mariadb
Then, we can update our aws_instance instance resource in our Terraform code:
resource "aws_instance" "test-instance" {
  ami = "ami-00d8a762cb0c50254"

  instance_type = "t3.micro"
  tags = {
    Name      = "test-instance"
    Terraform = true
  }

  subnet_id = var.public_subnet_id
  key_name  = var.ec2_key_pair_name
  user_data = file("${path.module}/ec2-user-data-db-cache.sh")
}
path.module refers to our terraform module. Your path might be different if you don’t have the same folder structure as in this example.
Recreating our EC2 instance
By default, the user-data script runs only on the creation of an EC2 instance, so we cannot simply apply that terraform update to our current instance. We could destroy the one we currently have and create another one, but there is a better way to do it, if your instance is not in usage. We can simply for the recreating of it.
The --replace option of our plan/apply command is the key to make it happen.
terraform plan -var-file="secret.tfvars" --replace=module.your-module-name.aws_instance.test-instance.
The plan should show that the instance will be destroyed, then recreated, making sure our user-data script is run on boot.
Once this is done, ssh to your instance and run mysql_secure_installation to get all set up.
Creating self-signed SSL certificates for secure access
Now, we want to create a self-signed certificates to enforce secure connections. We will be using openssl to do so, so make sure it is installed on your machine.
- Create a private RSA key acting as the CA key:
sudo openssl genrsa 2048 > ca-key.pem. - Generate a public certificate valid for a 1000 years from that key:
sudo openssl req -new -x509 -nodes -days 365000 -key ca-key.pem -out ca-cert.pem.
The next step will be to generate the server private key and certificate:
sudo openssl req -newkey rsa:2048 -days 365000 -nodes -keyout server-key.pem -out server-req.pemsudo openssl rsa -in server-key.pem -out server-key.pem- Sign the server certificate:
sudo openssl x509 -req -in server-req.pem -days 365000 -CA ca-cert.pem -CAkey ca-key.pem -set_serial 01 -out server-cert.pem
And finally, for the client:
sudo openssl req -newkey rsa:2048 -days 365000 -nodes -keyout client-key.pem -out client-req.pemsudo openssl rsa -in client-key.pem -out client-key.pem- Sign the client certificate:
sudo openssl x509 -req -in client-req.pem -days 365000 -CA ca-cert.pem -CAkey ca-key.pem -set_serial 01 -out client-cert.pem
You can verify that all those certificates are valid with: openssl verify -CAfile ca-cert.pem server-cert.pem client-cert.pem.
If you see all OK in the output, you are good to go.
All the credits for this section goes to this article as I definitely didn’t know how to approach this, but it is something on my to-do list to revisit, so that I really understand what happens here.
Now let’s copy the server keys to our database server with scp -i <your-keyname-pair.pem> -r self-signed-certificates ec2-user@<ec2-instance-ip>:~/self-signed-certificates
Then ssh to your instance and copy the server key and cert, in addition to the CA cert to /etc/mysql:
sudo cp ca-cert.pem /etc/mysql/ca-cert.pem
sudo cp server-cert.pem /etc/mysql/server-cert.pem
sudo cp server-key.pem /etc/mysql/server-key.pem
Open your mariadb config files, e.g /etc/my.cnf.d/mariadb-server.cnf and add the following in the mariadb section:
[mariadb]
ssl_cert = /etc/mysql/ssl/server-cert.pem
ssl_key = /etc/mysql/ssl/server-key.pem
ssl_ca = /etc/mysql/ssl/ca-cert.pem
Restart mariadb with sudo sysctl restart mariadb.
Enforce secure client connections
To start let’s create a mysql user for our test.
After running mysql -u root -p on the EC2 instance to connect to the DB as root, run:
CREATE DATABASE random
CREATE USER 'test-user'@'localhost' IDENTIFIED BY 'my-password';
GRANT ALL PRIVILEGES ON random.* TO 'test-user'@'localhost';
FLUSH PRIVILEGES;
Exit out of mysql and run mysql -u test-user -p, and you should be able to access the database.
Now, login to mysql as root, and we will enforce SSL for that test-user we just created.
GRANT ALL PRIVILEGES ON random.* TO 'test-user'@'localhost' IDENTIFIED BY 'my-password' REQUIRE SSL WITH GRANT OPTION;
Exit out of mysql and attempt to login to the DB as test-user.
You should see an error: ERROR 1045 (28000): Access denied for user 'test-user'@'localhost' (using password: YES).
Good! Now let’s specify a client certificate and key to use to ensure our connection is secured.
mysql -u test-user --ssl-cert ./self-signed-certificates/client-cert.pem --ssl-key ./self-signed-certificates/client-key.pem -p
And you should be in! Yay!
Integration with Next.js
Now, the final part, let’s use all of this for our Next.js application, with a few gotchas. When using the command-line we have access to all the different certificates and keys. In the case of Next.js and Vercel, for our API endpoints, it is using Serverless functions as a backend, meaning an ephemeral file system. This results in having to create a file on demand, so that we can have encrypted connections to our database. The idea is to have the content of the key and cert file as environment variables, and we will fetch their values to create a temporary file, before attempting to connect to our database.
This is discussed at length in https://github.com/prisma/prisma/issues/1673 and this is how it can be implemented:
if (process.env.NODE_ENV === 'production') {
    try {
      console.log(`Creating client-key.pem in /tmp from env variable CLIENT_KEY`)
      const clientKeyPem = process.env.CLIENT_KEY_PEM!
      let path = `${tmpdir()}/client-key.pem`
      await fs.writeFile(
        path,
        clientKeyPem,
      )
      console.log(`file created at ${path}`)

      console.log(`Creating client-cert.pem in /tmp from env variable CLIENT_CERT_PEM`)
      const clientCertPem = process.env.CLIENT_CERT_PEM!
      path = `${tmpdir()}/client-cert.pem`
      await fs.writeFile(
        path,
        clientCertPem,
      )
      console.log(`file created at ${path}`)
    } catch (e) {
      console.log(`[ERROR] getDBClient: ${(e as Error).message}`)
    }
  }
and we need to have an mysql connection string looking like mysql://test-user:my-password@<instance-ip>:3306/random?sslcert=/tmp/client-cert.pem&sslkey=/tmp/client-key.pem.
Conclusion
This is not bulletproof, and is me experimenting around. If my side-project becomes something more serious, I would definitely be moving to either AWS RDS or something like Planetscale to not have to deal with database security as such a low-level. Neverthless, it is interesting and helpful to know what gets into managing a database server, as it is nowadays somethind we are usually further off unless you work in an SRE or sysadmin capacity.